![]()
Installation, start up and logging in is summarized below:
Part II: Registration
First, ensure you have registered for your Qwikkr product with DalcoTech. This is done through the DalcoTech registration process and is independent of the SmarterASP.net account setup and installation.
You need the registration code from DalcoTech to actually run Qwikkr.
Part II. Installation
Installation is a couple of quick steps.
Part III. Starting up
After installing and launching QwikTEAM, the first order of business is to enter your registration credentials, change the administrator password (since the initial one is too simple) and add at least one user.
Part IV. Enter registration credentials
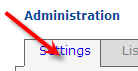
Part V. Administrator functions
Part VI. Add users and First user
Part VII. Logging in for all users
Once everything is installed, all users should use the [Sign in] function from the Qwikkr (http://DalcoTech.com) web site.
Before you can use Qwikkr, you must have a registration code from DalcoTech.
If you don't have a registration code, go to the below web site, register and obtain the code:
a. Go to: http://dalcotech.com/q_purchase/q_custsetup.aspx
b. Enter basic information and click [Register me]:
Note the password requirements:

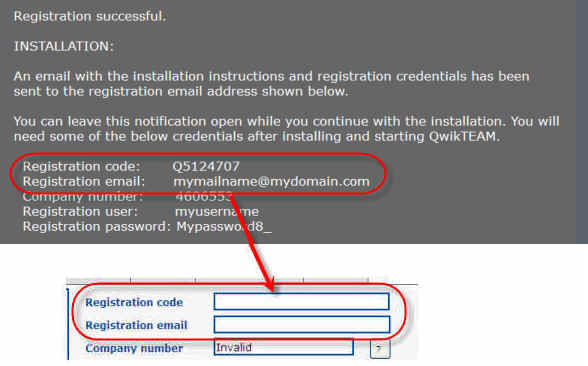
c. A confirmation dialog will display:
and emai
We suggest you leave the above window OPEN throughout the entire installation process. You will need the credentials as you progress.
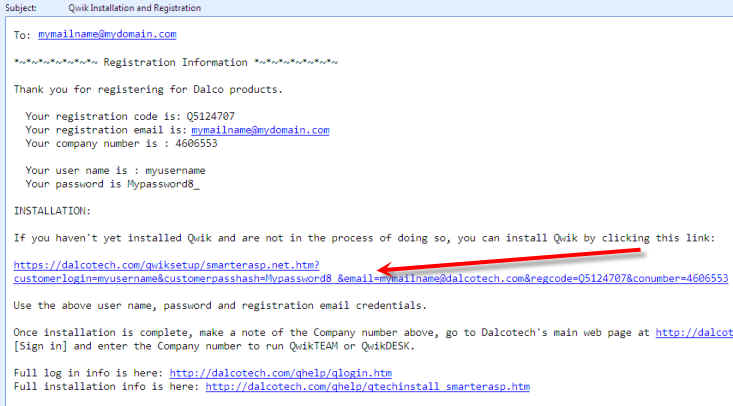
- d. A registration confirmation from Dalco Technologies will be sent to the registration email address. Check
- your email inbox (or junk email) and locate the email.
- Click on the link to start the install:
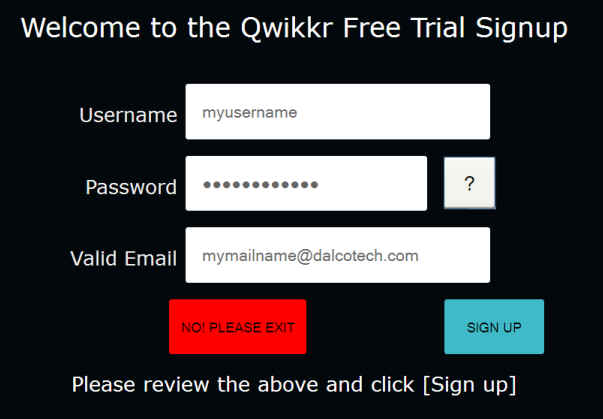
- When you click the email link, a sign up window will display. Your registration credentials should
- automatically be inserted.
- a. If the credentials are not entered, or not all complete, enter them from the information in your email (I.Registration d. above)
- or from the confirmation dialog in I.Registration c. above:
- Complete the boxes:
- For 'Username', enter the 'Your user name is' from the email or 'Registration user' from the confirmation dialog.

- (you would, of course, enter your actual registration user name :)
- For 'Password', enter the 'Your password is' from the email or 'Registration password' from the confirmation dialog.

- (and you would enter your actual registration password)
- For 'Valid Email', enter the 'Your registration email is' from the email or 'Registration email.

- (and ... your actual registration email address)
- b. Click [SIGN UP]
-

- c. If there are no errors, the below notification will display.

- d. A hosting account confirmation email will be sent from SmarterASP.net. This one will be from
- SmarterASP.NET to set up your private company hosting account and create your website.
- e. Check your email inbox (or junk folder) for an Account Activation - SmarterASP.net email.
- Click the link in the SmarterASP.NET email when it arrives to activate your Hosting account:

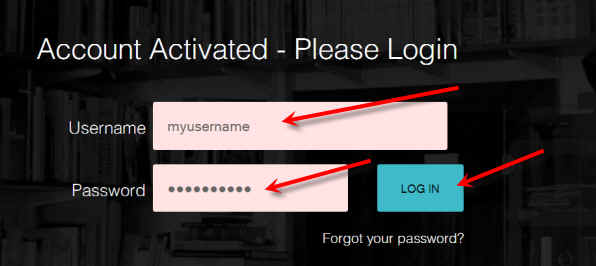
f. The activation notification window will display. Enter your credentials and [Log in]:
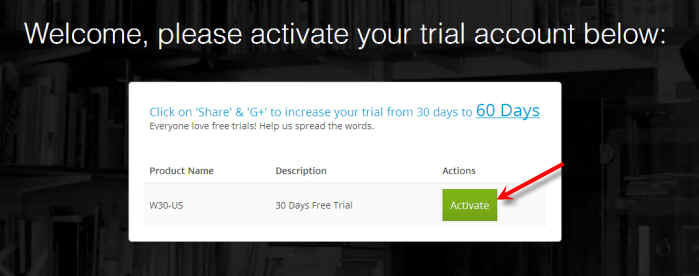
g. When the Welcome window displays, click [Activate]:
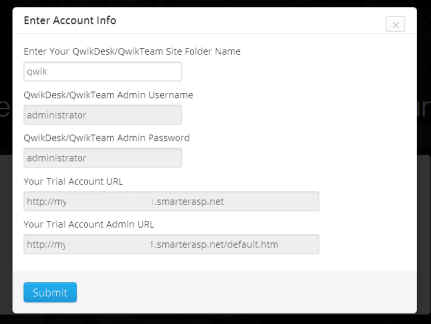
- h. An Account info window will display. You don't have to do anything with it. Just review it and
- click [Submit] to continue:
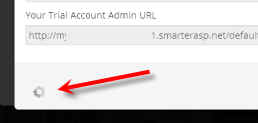
Be patient. Installation can take 60 to 120 seconds, or a bit longer:
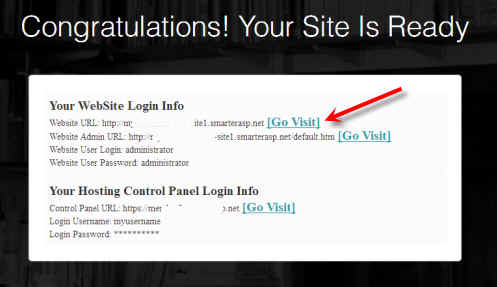
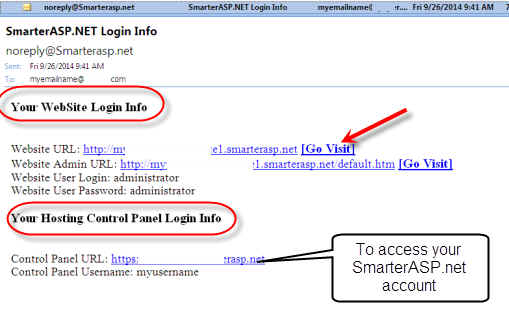
i. When the installation is done, start up QwikTEAM by clicking the top [Go Visit] button:
- This will launch QwikTEAM... again, be patient - that, too, can take 60 seconds or more because it's the first
- time, and a lot of installation things need to be done.
- NOTE:
- The same information will also be sent to your email address, so you can re-launch
- from the email, should you need to.
- The email also contains a link to your private SmarterASP.net hosting account. You
- can update account information, make payments, seek help and so on.
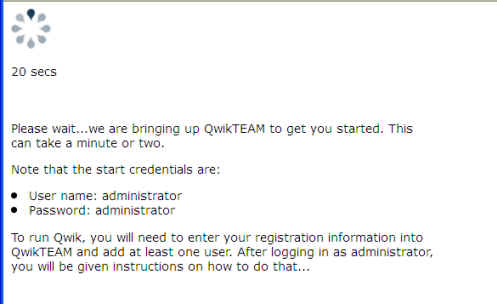
After you click [Go Visit] beside the Website URL link, a notification page will display for up to a couple of minutes while QwikTeam sets up. The number of seconds waiting will display.
Be patient...the first time Qwik apps run, a lot of detailed work has to be done and this can take a minute or two, so please be patient.
a. QwikTEAM should automatically log you in as Administrator and display the registration information page.
NOTE:
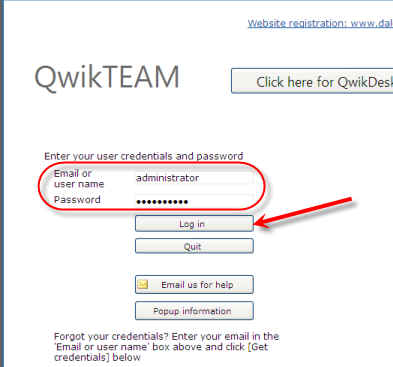
If the QwiTEAM Log In page displays instead of the above, log in as the administrator using the default credentials:
- User name: administrator
- Password: administrator
QwikTEAM will start up and display the Administration module and the registration information page.
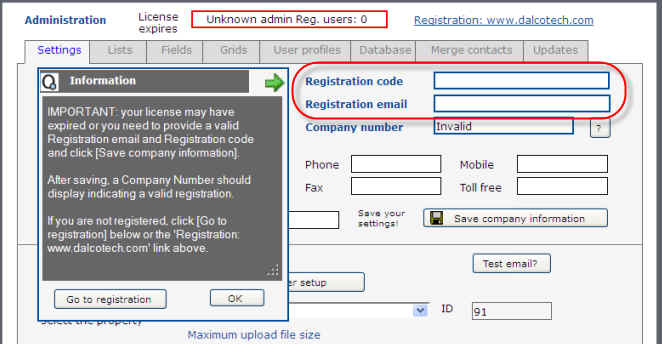
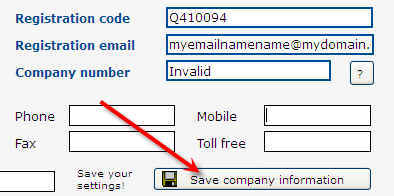
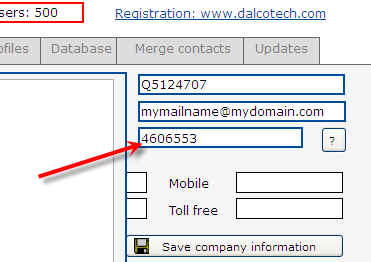
IV. Entering registration credentials:
Enter your Registration code and Registration email, click [Save company information] to get your company number, and continue.
To do that:
- a. Go to the registration window that you left open and get the required info (see I.Registration: c. above), (or from the email from Dalco
- Technologies as shown in I.Registration: d. above):
b. Click [Save company information]:
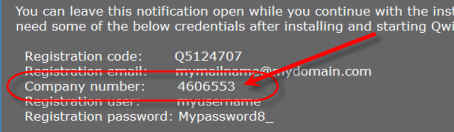
- c. If the information has been entered correctly, QwikTEAM will display a company number that
- matches the one in your initial registration:
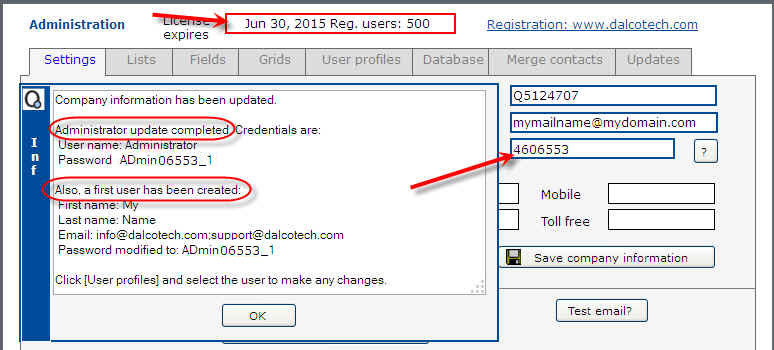
IMPORTANT: MAKE A NOTE OF BOTH USER NAMES AND PASSWORDS! You will need them to log in as either the administrator or as a user.
ALSO: The company number is very important. It's used by all your users to log in from the central Qwikkr/Dalcotech web site. It's also used on Qwik desktop apps like Import, Email sync and QwikDeskFILES.
If you need to see the user names and passwords, click [User profiles].
See the Section 'Logging in for all users' below on using that number.
NOTES:
1. The above registration process should also modify the Administrator user profile's password from its default of 'administrator' to the stronger password you used for registration. By the way, you are the administrator.
2. The process also will create a first user - you. The user name, email and password are as entered in the registration.
Click [User profiles] to view the user information.
To do administrative functions, log in as the administrator:
User name: administrator
Password: the password described above or 'administrator' if you have used a different process to complete the registration.
If you need to modify the administrator password, click here for help
The administrator is not technically a valid user and is discouraged from doing any data entry. The above registration process will attempt to create a first user - you. It is in addition to the administrator user.
Check [User profiles] to ensure one was set up. If not, set up yourself as a user, and add any other users as needed.
Add other users as needed. There must be a vaild email address for each user. After setting up a user, click [Email user] to send them their credentials.
Click here for more information.
1. Add users as needed. Click here for more information.
2. Users should sign in from the Dalcotech/Qwikkr web site.
1. Give this link to everyone in your company:
or
and the Company number from the registration information in QwikTEAM:
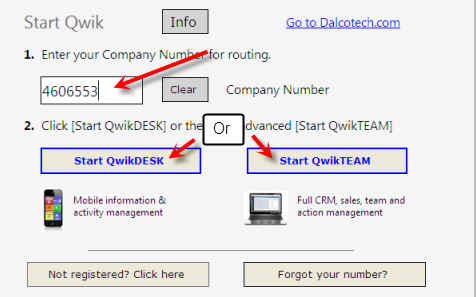
2. Tell your users: From the Qwikkr or dalcotech.com page, select [Sign in] to display the Sign In page.
3. From the Sign in page, they need to enter the company number and select the Qwik app:
4. From the Log in page that is displayed, they will enter the user name and password you have given them.


For more information on logging in, Click here.
That's it... they can start using Qwikkr.